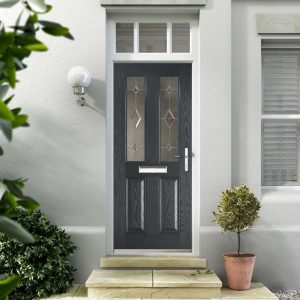
If you’re an installer or an avid DIYer, knowing how to hang an exterior door is a useful skill to know. So, as a leading supplier of uPVC and composite doors in the South of England, we’d thought we’d share our expertise on the subject.
However, there are some important steps to take before you begin…
Steps to take before hanging external doors:
 Get clued up on Building Regulations – although installers are likely to be aware of this, any DIYers might not realise that if you’re replacing a frame and external door, you’ll need to notify Building Control of your plans. This is because external doors are classed as ‘controlled fittings’, which means they must comply with Building Regulations.
Make sure your chosen door is the right way up – as external doors come in various shapes and sizes, this isn’t always as obvious as it might seem. So, make sure to carefully check that the door you’re planning to fit is right way up before you begin.
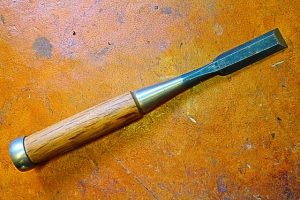
Grab the required tools – we recommend you get yourself: a sharp builder’s pencil, a tape measure, combination square, mallet, sharp chisel, power plane and smoothing plane, a marking gauge, screws, and a good cordless drill with wood drill bits and screwdriver bits. Buying or making a saddle and block to hold the door will also make it easier once you begin working on it.
After doing these things, you can move onto fitting the door. We’ve gone through the process step by step below to guide you through hanging exterior doors.
1. Readying the door lining or frame
For your first move, you need to prepare the door lining or frame to ensure that it is square, level and both jambs or legs are parallel. To do this:
Use an old blunt chisel to scrape any large lumps of plaster from any freshly plastered walls. If further clean up is required, sand them down.
Exterior door frames will most likely be rebated, so you might just need to rebate the bottom of the door over the weather strip.
For door frames without built-in door stops, set a combination square to the thickness of the door and mark a line from the face of the lining at each corner. Mark the lines about three inches down from the top and three inches up from the floor.
To keep the door flush with the frame and to stop it falling through when you come to mark it out, hit a nail halfway in at each line.
2. Marking up the new door
 Secondly, you need to mark up the new door, which requires you to do the following:
Place the new door into the lining, making sure the lock block is in the side where you plan to fit the handle.
If fitting to a frame, however, use an electric or hand plane to plane it to the correct size.
Using a wooden wedge, prop the door up in the opening until there is a 2/3mm gap present at the top. If hanging more than one door, cut a spacer or use a piece a cardboard to ensure for consistency between the doors.
Useful tip: Be sure to leave a gap of about 18-20mm if you’re fitting a door where no carpet or flooring is down but will be in the future.
3. Marking the hinges
The third step requires you to mark out the hinges, and this can be done by:
Unless the replacement door(s) match the existing ones, use a sharp pencil to mark a line on the door and the lining that is 150mm down from the top of the highest hinge and 230mm up from the bottom of the lowest hinge.
To stop you from the chopping the hinge in on the wrong side of the line (when the time comes), put an x on the side of the line where you want the hinge to be on both the frame and door.

After marking all the hinge positions, securely wedge the door into the saddle with the hinge side at the top.
Use the combination square and a pencil to square up the pencil lines. Make sure the lines are clearly visible but faint enough that they can be sanded off easily.
Slide the hinge up to the line until it’s covering the x you drew earlier and mark the bottom end of the hinge.
Working from the face edge of the door and frame, take the marking gauge and use it to write the width of the hinges into the edge of the door.
Useful tip: If fitting a heavy external door, make sure to mark up a position in the centre of the door for the third hinge.
4. Chopping out the hinges
Next, you need to chop out the hinges. The method for this step is as follows:
 Using a sharp chisel and chopping horizontally, chop out the top and bottom of the hinge.
Next, chop into the door at 10mm intervals to the depth set by your marking gauge at a 45-degree angle.
Trim away the waste using the chisel, making sure to stay inside the lines when doing so.
If there are any pencil lines, sand them away before chopping out the other hinges.
Once all the hinges have been chopped out, begin screwing in the hinges to the door leaf using your battery drill. When doing so, make sure that the screws sit flush in the hinges.
Useful tip: Drilling pilot holes for the screws beforehand might help you to be more accurate when you come to screw them in.
5. Trimming the door to size
 For this step you need to:
Trim the bottom of the door using an electric plane.
You might also need to apply a leading edge to the door at this point. This will prevent the door from coming into contact with the frame.
Useful tip: If you need to remove a lot from the bottom edge of the door, use a circular saw instead. However, be sure to chip out the area you plan to cut off using a sharp Stanley knife and a straight edge first, otherwise you risk removing too much of the door.
6. Fitting the door
Now the door is ready to be fitted, it’s time to put it in place.
Take the door out of the clamp that you put it in earlier and take it up to the door frame at a slight angle.
Screw the top hinge into the door lining but make sure you don’t put all the screws in because you might have to adjust it later.
Pivot the door so it stands straight and put a screw into the remaining hinges. If the door fits ok, put in the rest of the screws, sit back and admire your handywork because you’re done!
Useful tip: Purchasing a board and door lifter will make life easier when you come to stand the door up.
Trade uPVC and composite door supply from My Trade Windows
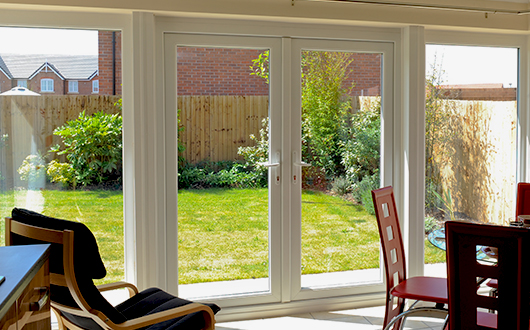
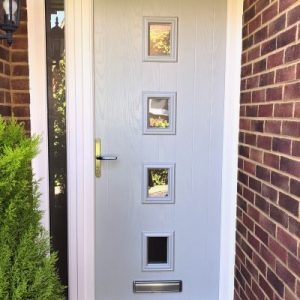
Now you know how to hang an exterior door, the next step is finding the right door to hang! However, we at My Trade Windows can help you out here. Within our excellent collection of doors, you can find:
If you’d like a free quote at a competitive trade price or more information, give us a call on 01483 361152 or contact us online.